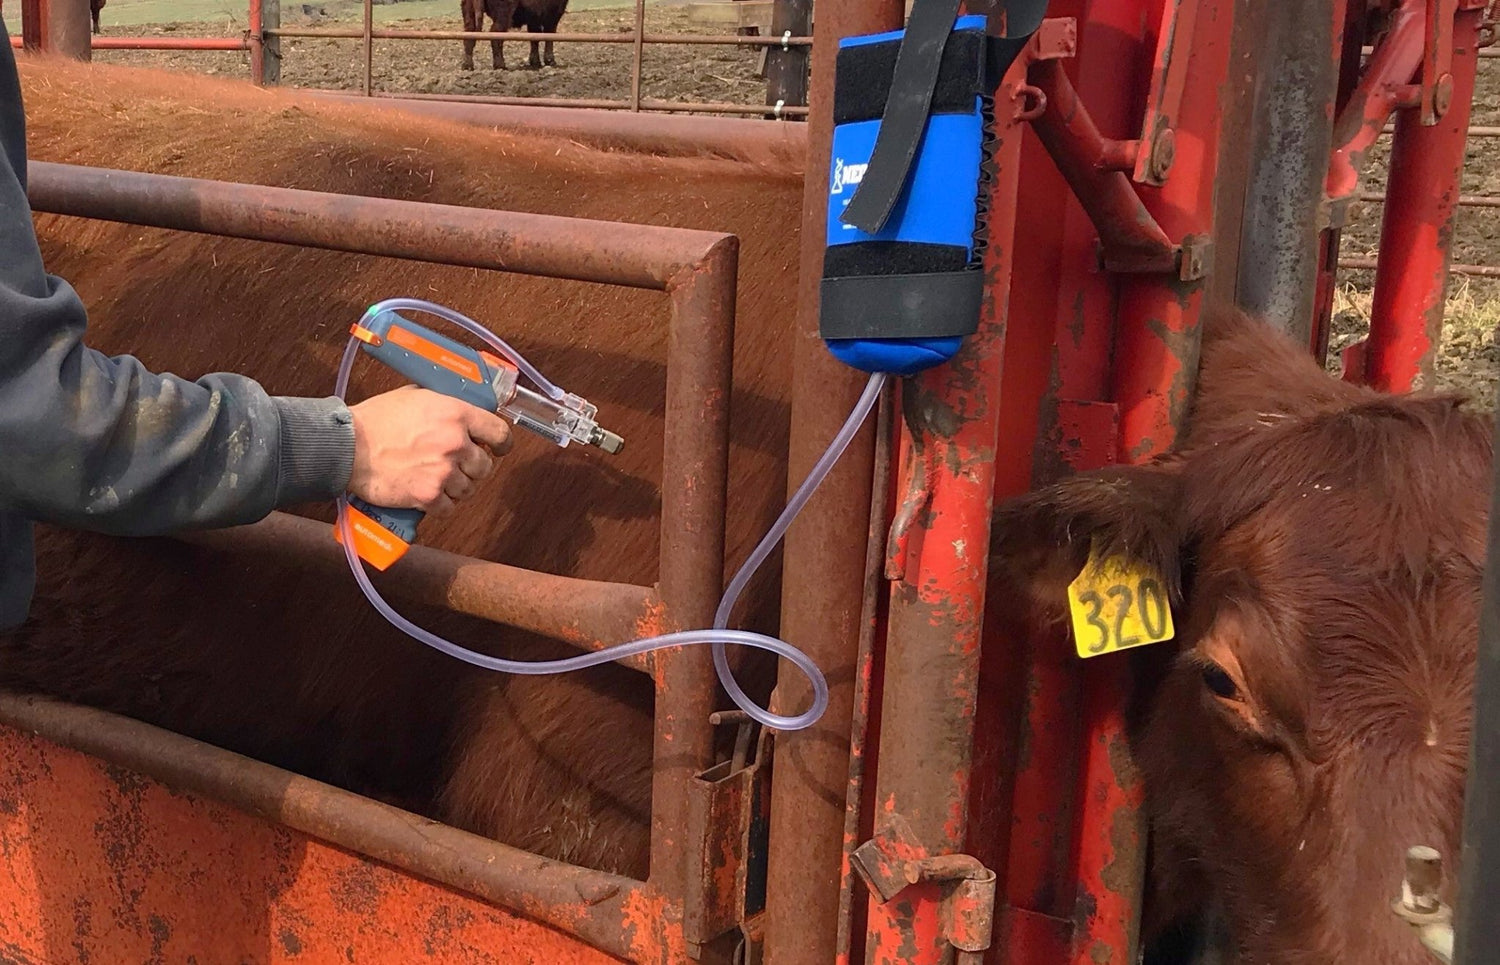
Follow this comprehensive guide to easily update your Automed device, ensuring it operates with the latest features and enhancements for optimal performance.
How to update your firmware
For a smooth and successful firmware update on your Automed device, follow these step-by-step instructions designed to guide you through the entire process.
Before you start
Before proceeding with the firmware update on your Automed device, ensure you have gathered the necessary items needed to update the Automed Device firmware.
USB Type A to Micro B Cable
It's important to note that the required cable is often known as the old-style Android charging cable. However, ensure that the cable you use is a data cable and not just a charging cable, as only a data cable can facilitate the firmware update.

Windows PC or Laptop
The second essential requirement is a Windows laptop or PC operating on either Windows 8, Windows 10, or Windows 11. This device will be used for running the firmware update process.
Step 1: Setting up the firmware updater.
To install the Automed Firmware on your Windows laptop or PC, begin by downloading the Automed updater software.
Note: If you have previously installed the Automed Firmware Updater, you can directly proceed to step 3.
After downloading, extract the contents of the installation folder and open the file named 'DfuSe_Demo_V3.0.6_Setup.exe' to begin the installation process.
Follow the instructions on the setup screen to finish the installation. After the installation is complete, launch the DfuSe Demo program and leave it open on your screen as we proceed with the next steps.
Step 2: Setting up the Device Driver
Before updating your device's firmware with the Updater software, it's essential to confirm that the Device driver is properly installed. To ensure everything is functioning correctly, please follow the next steps carefully.
Connect the USB cable to the device
Take your Micro B USB cable and connect it to the USB port located at the bottom of the device, as illustrated in the image below.

Step 3: Updating your device firmware.
Connect your device to your computer and verify that it is being recognized and displayed in the "Dfuse Demo Program."

After ensuring that your device is connected and appearing in the Dfuse Demo Program, click on the "Choose" button, as indicated in the instructions below. This action will open a file explorer window, allowing you to select the latest firmware version you have downloaded. If you haven't downloaded the latest firmware yet, use the provided link to obtain it.

Once you have selected the firmware update file, proceed by clicking the "Upgrade" button to initiate the firmware update process.

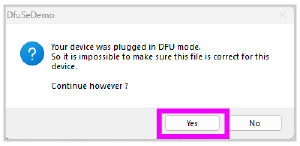
Immediately after clicking the "Upgrade" button, a notification will appear. When this happens, click "Yes" to confirm and proceed with the firmware upgrade.


0 commentaire