Priming an adapter on your Automed device is a crucial step for accurate medication delivery, and this guide will walk you through the simple yet essential process.
How to Prime Your Adapter
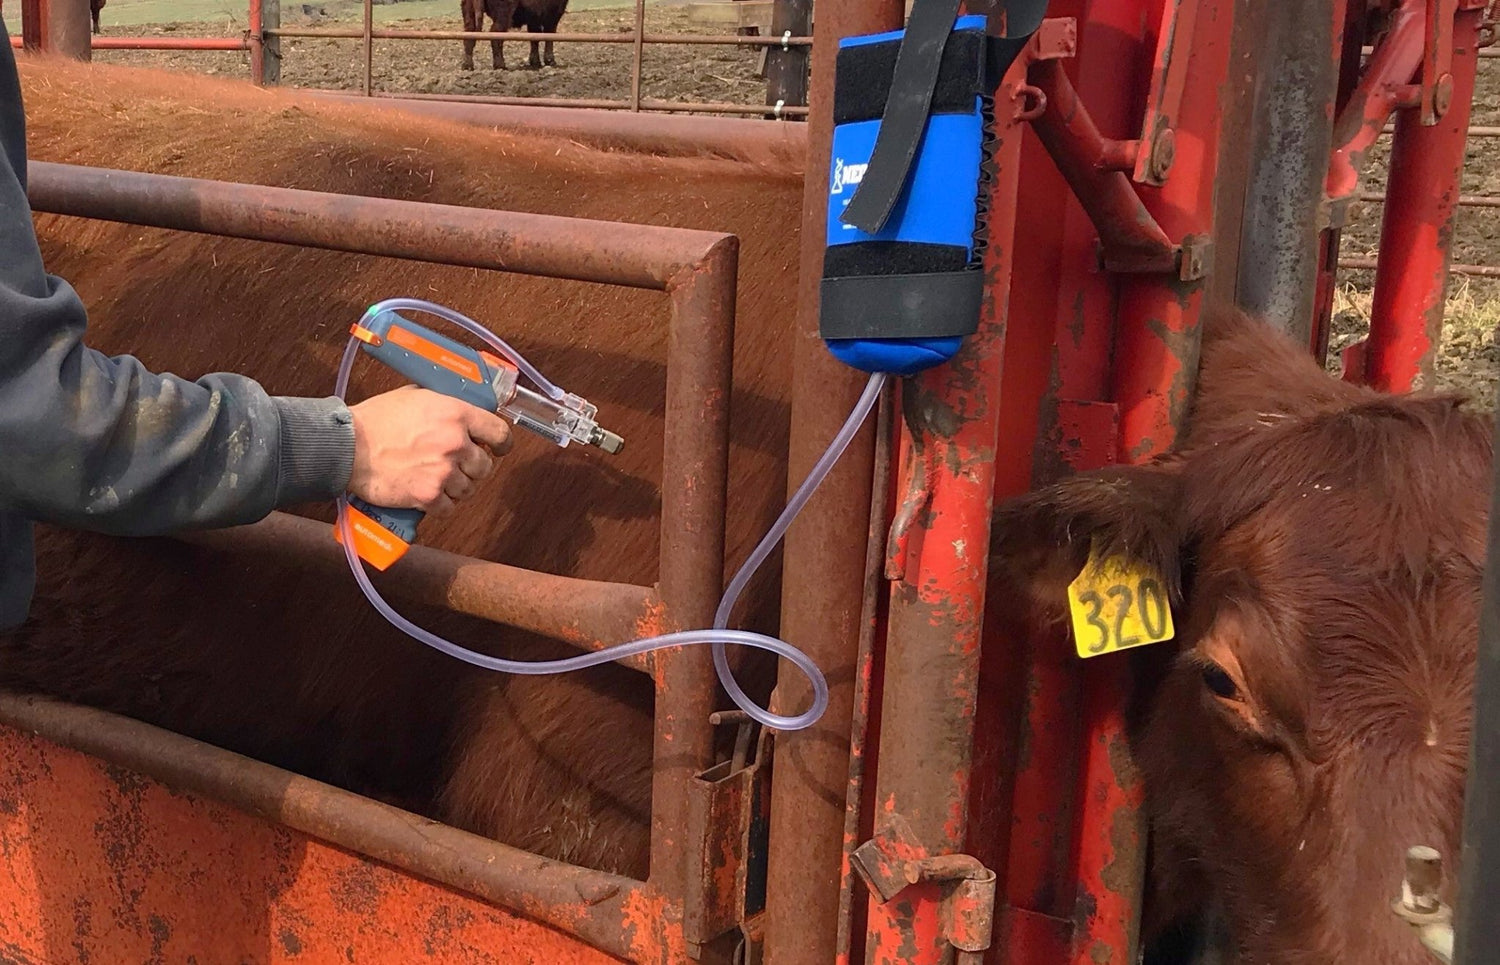
Step 1: Begin by inserting the battery into your Automed device and attaching an adapter. After the adapter is securely connected, activate the device by pulling the trigger until the "Prime" menu option appears on the screen.

Step 2: When the prime mode initiates, you will hear a beeping sound from the device and a flashing led, and it will display a screen as described below.

Step 3: When you're prepared, pull the trigger to move the adapter's plunger back and forth. This action draws medication into the adapter and expels any air from the line and adapter, ensuring a proper medication setup.
During the priming process, you have the option to release the trigger at any point, which will return the plunger to its original position. This feature is particularly useful for minimizing medication wastage.
Step 4: Once you're confident that the adapter has been successfully primed, detach and reattach the adapter to reset the device. This will bring you back to the start menu, readying the device for dosing.

0 comments